
Filter
Sort by:
Custom Transfers
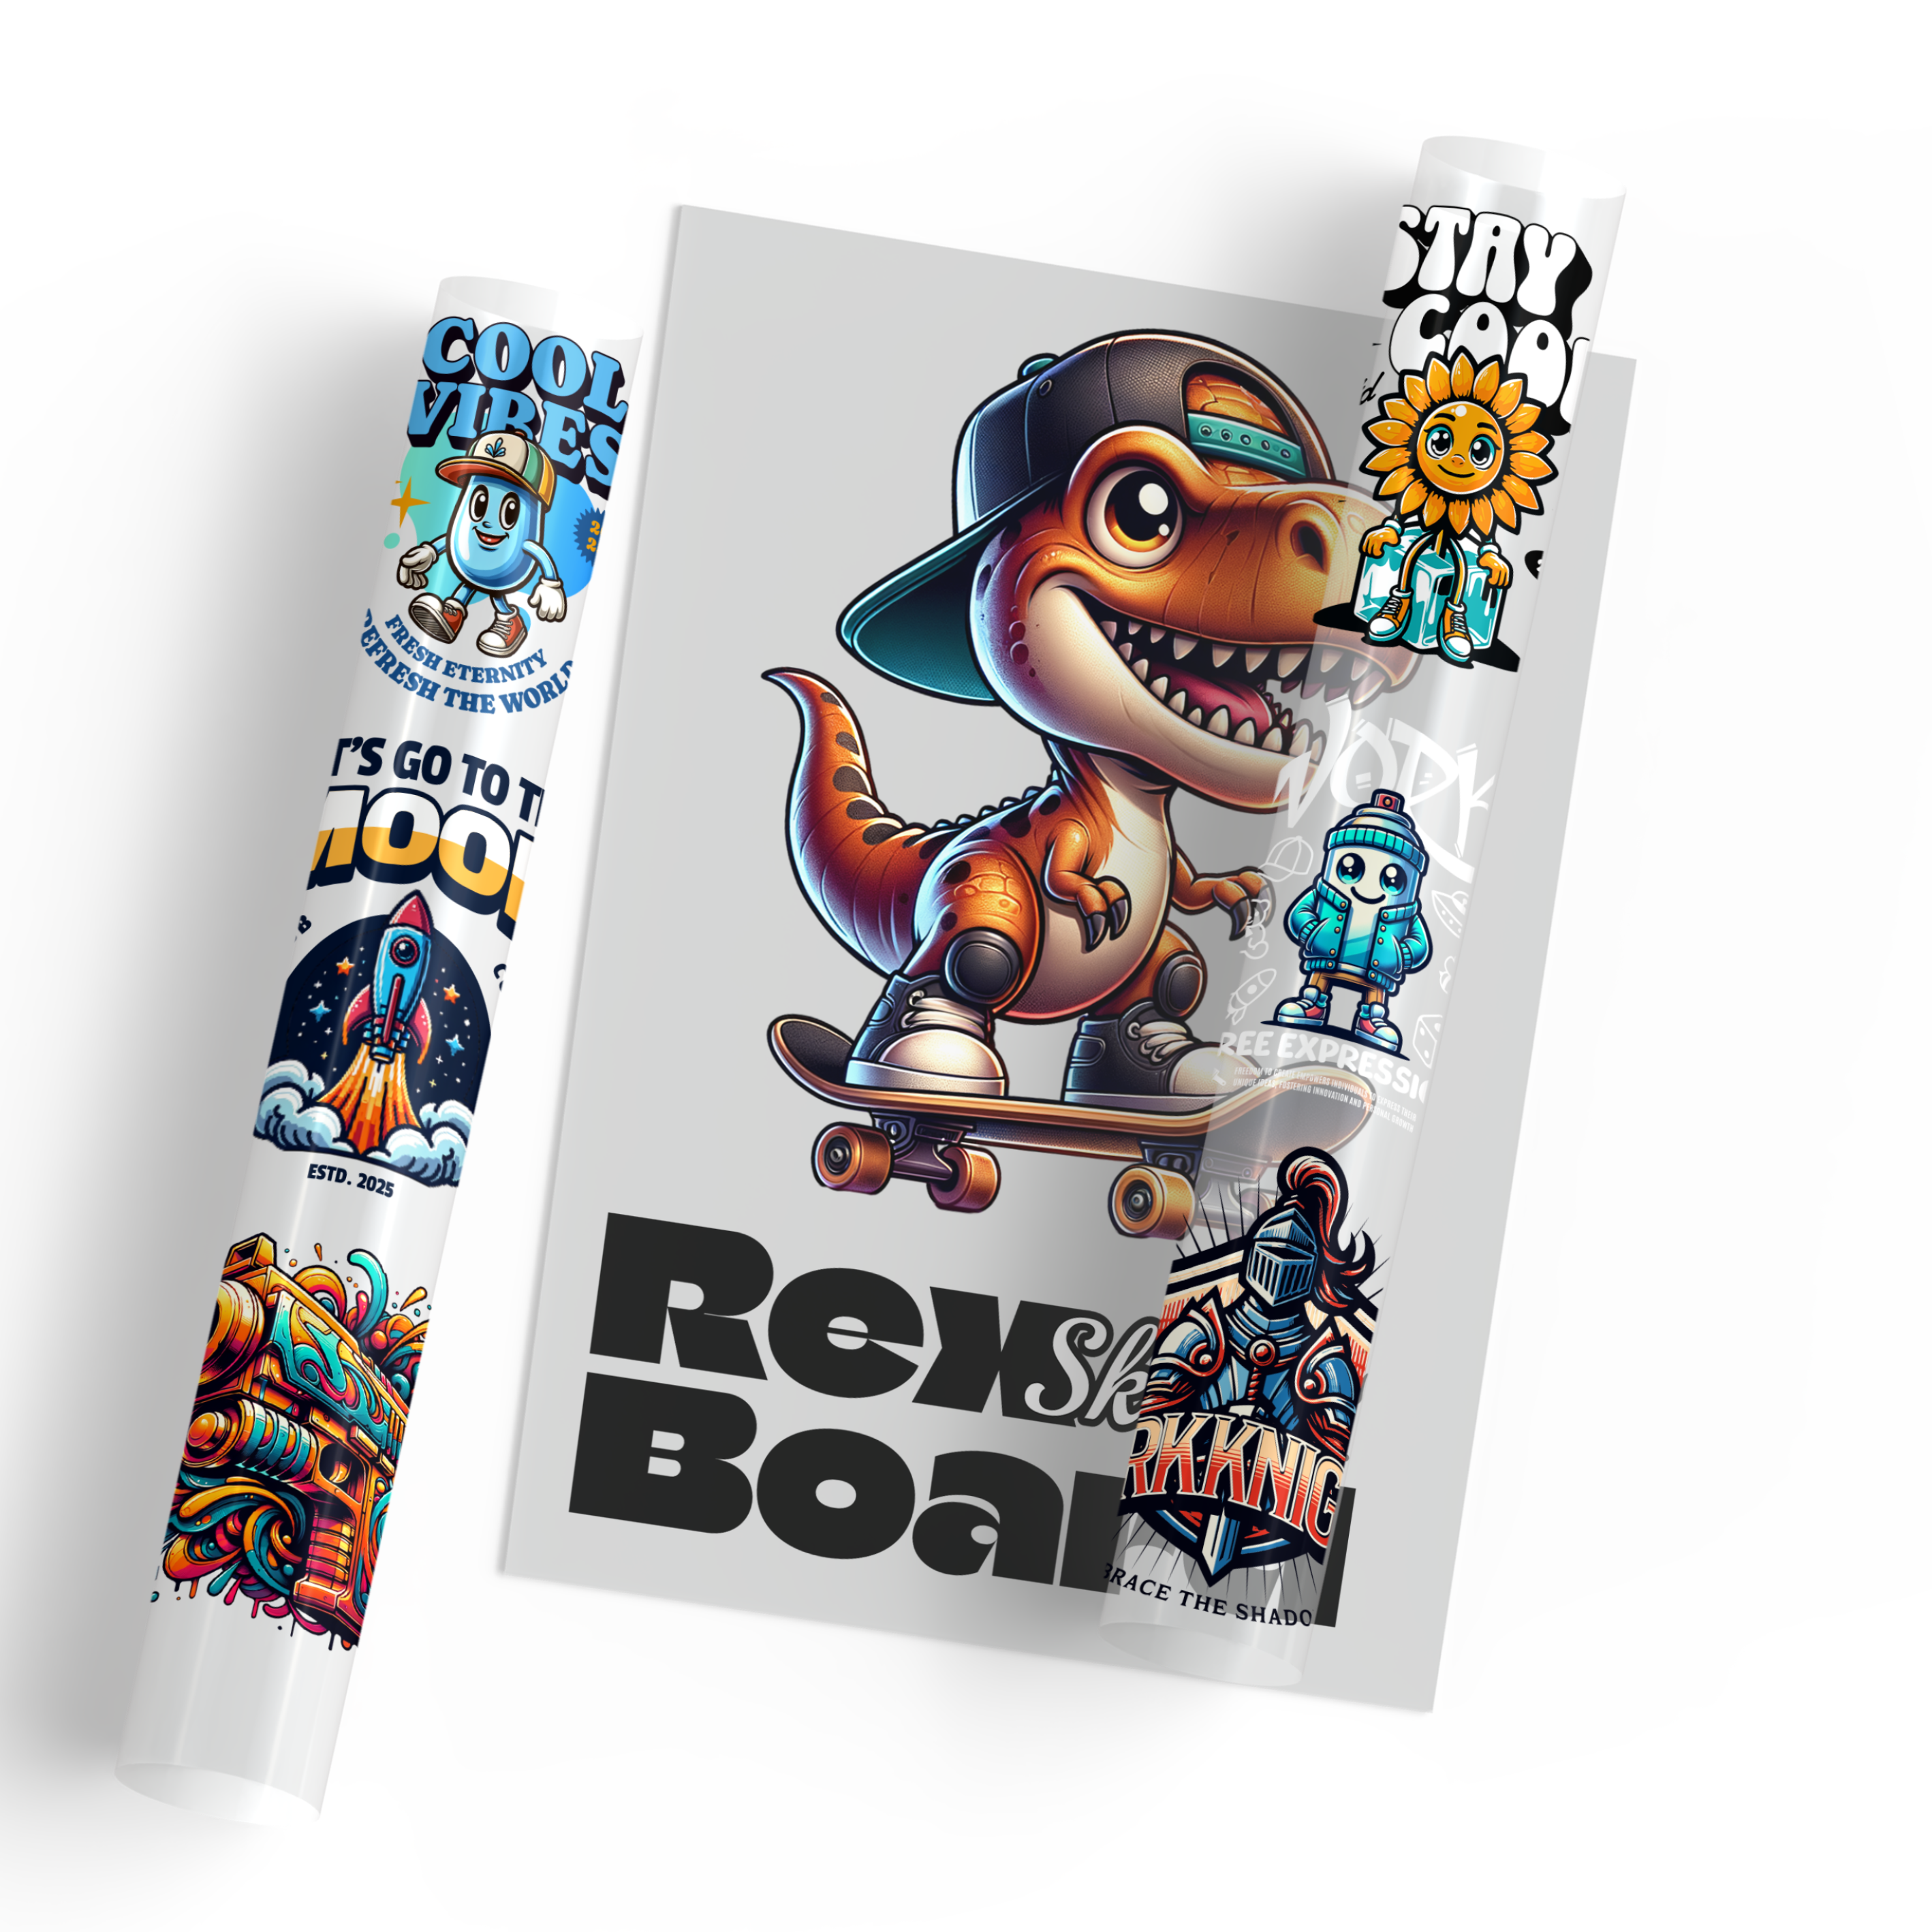
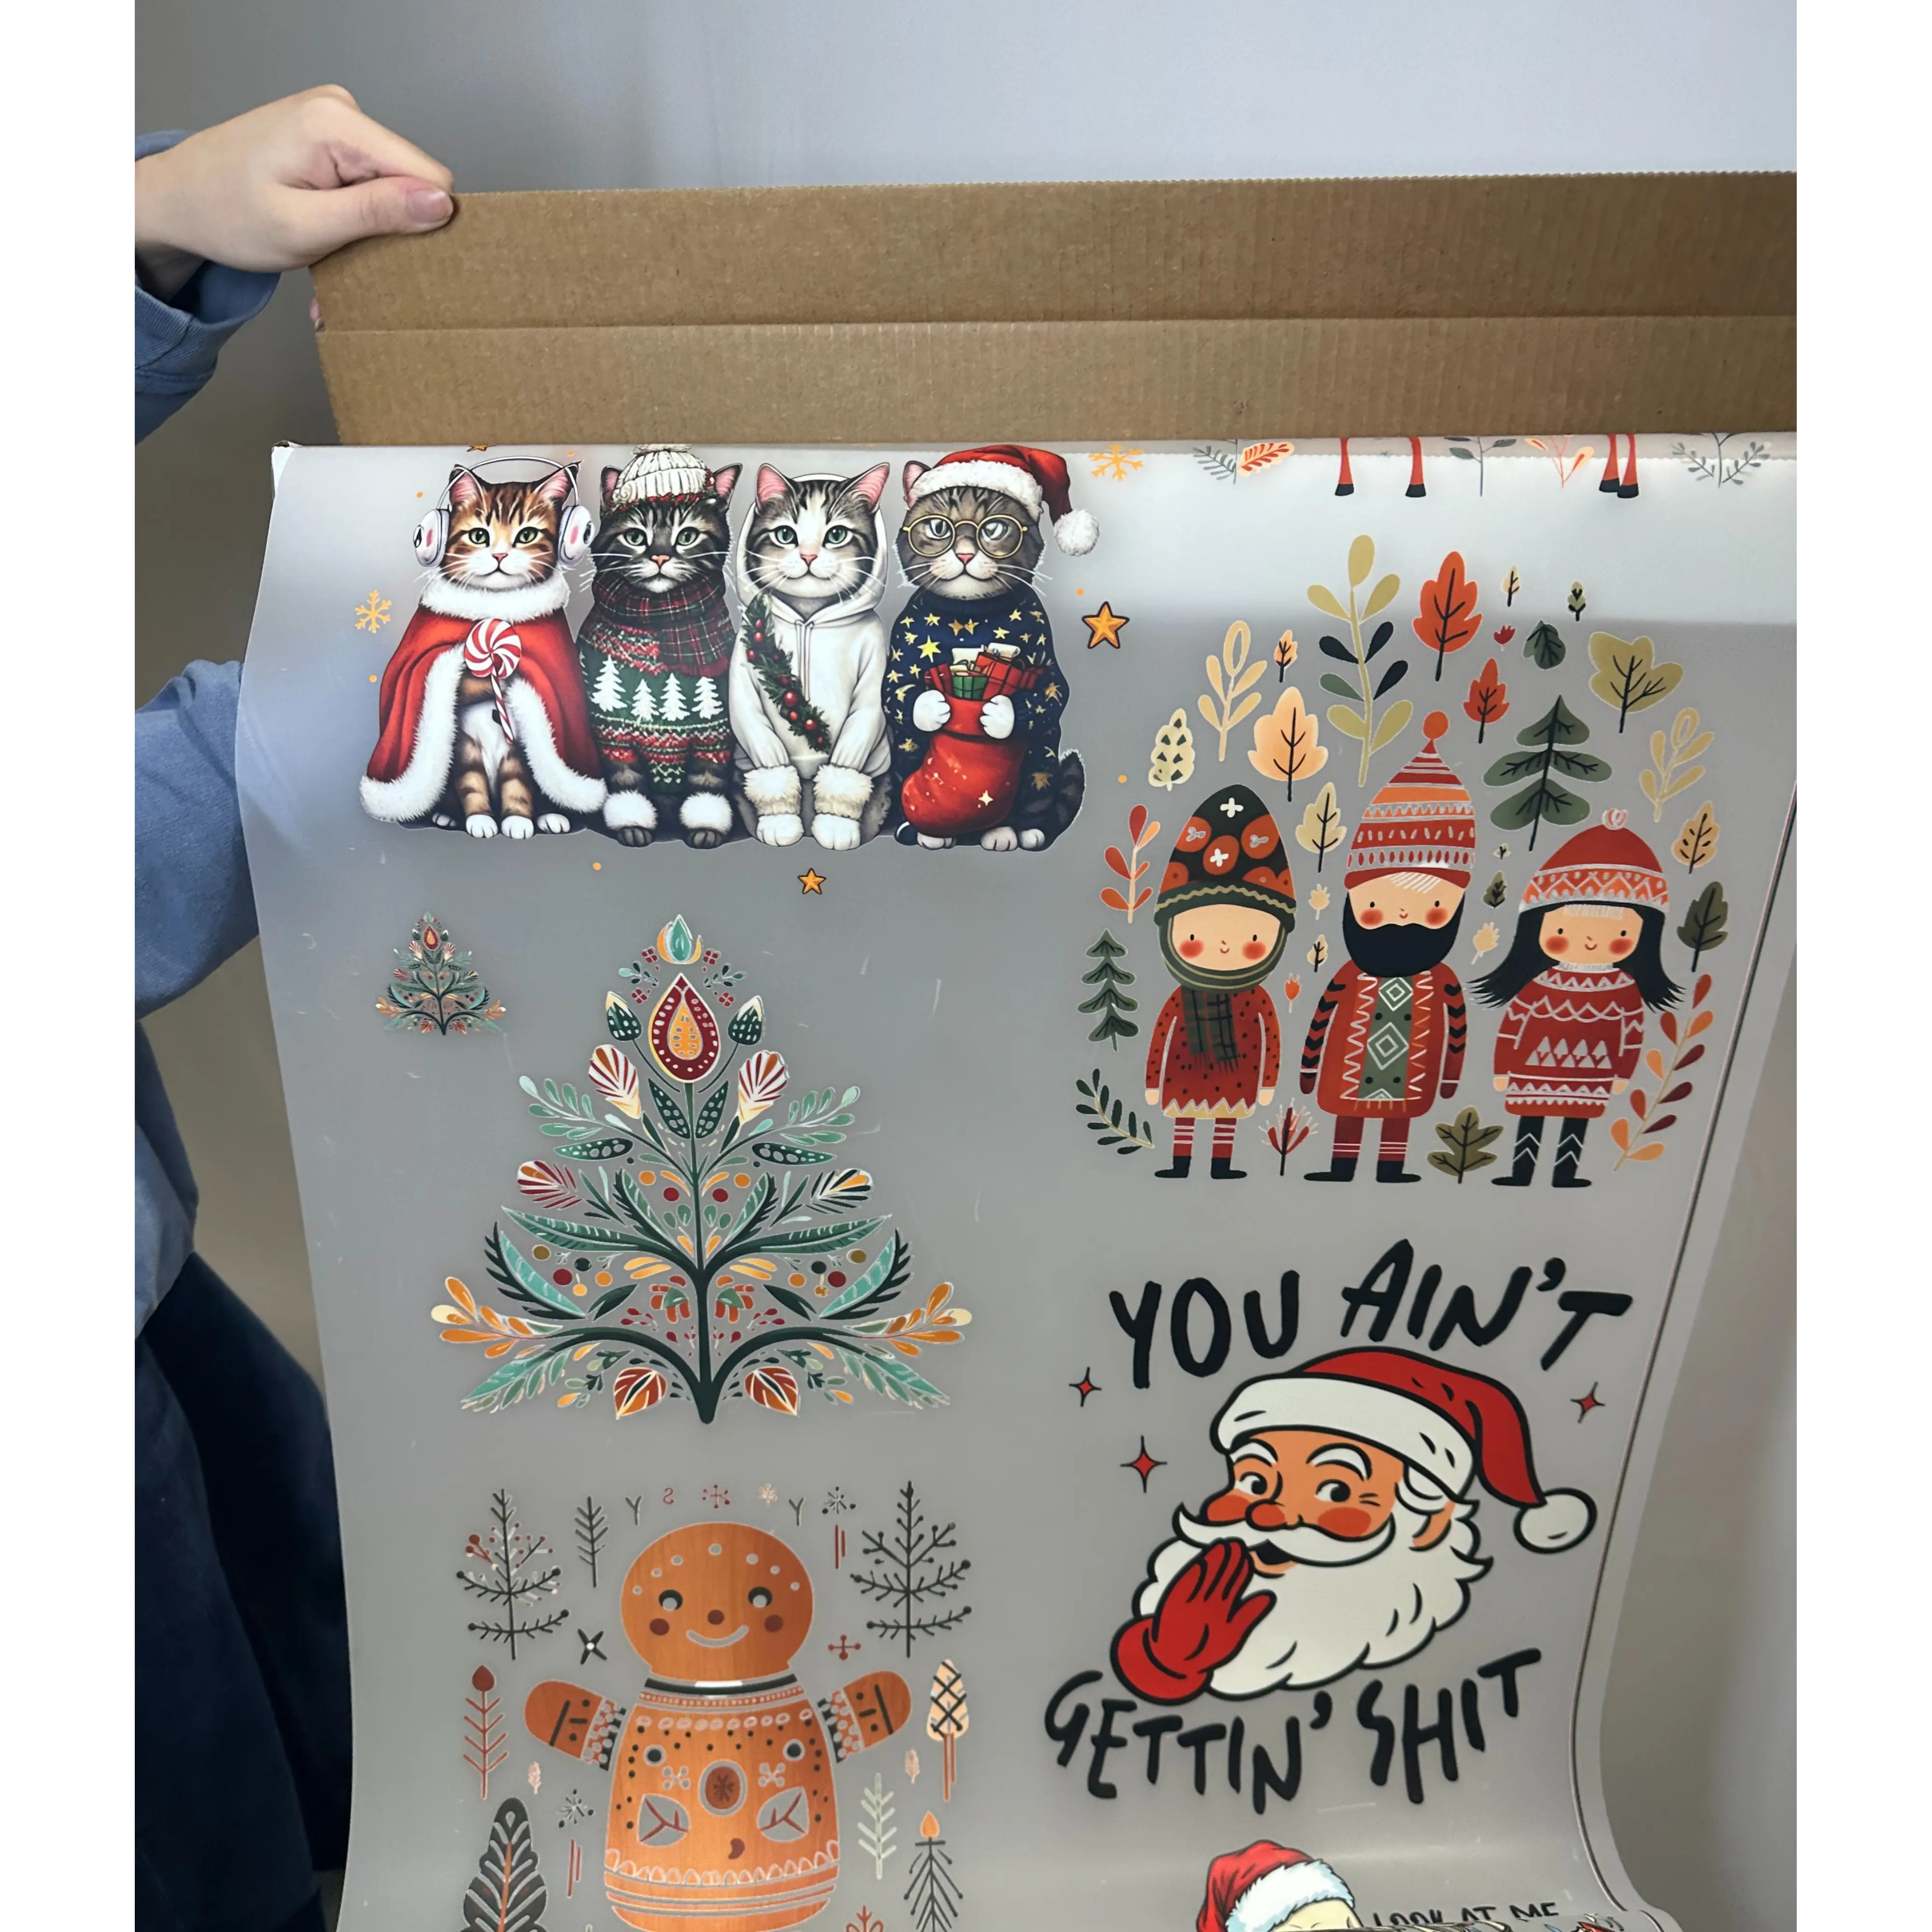
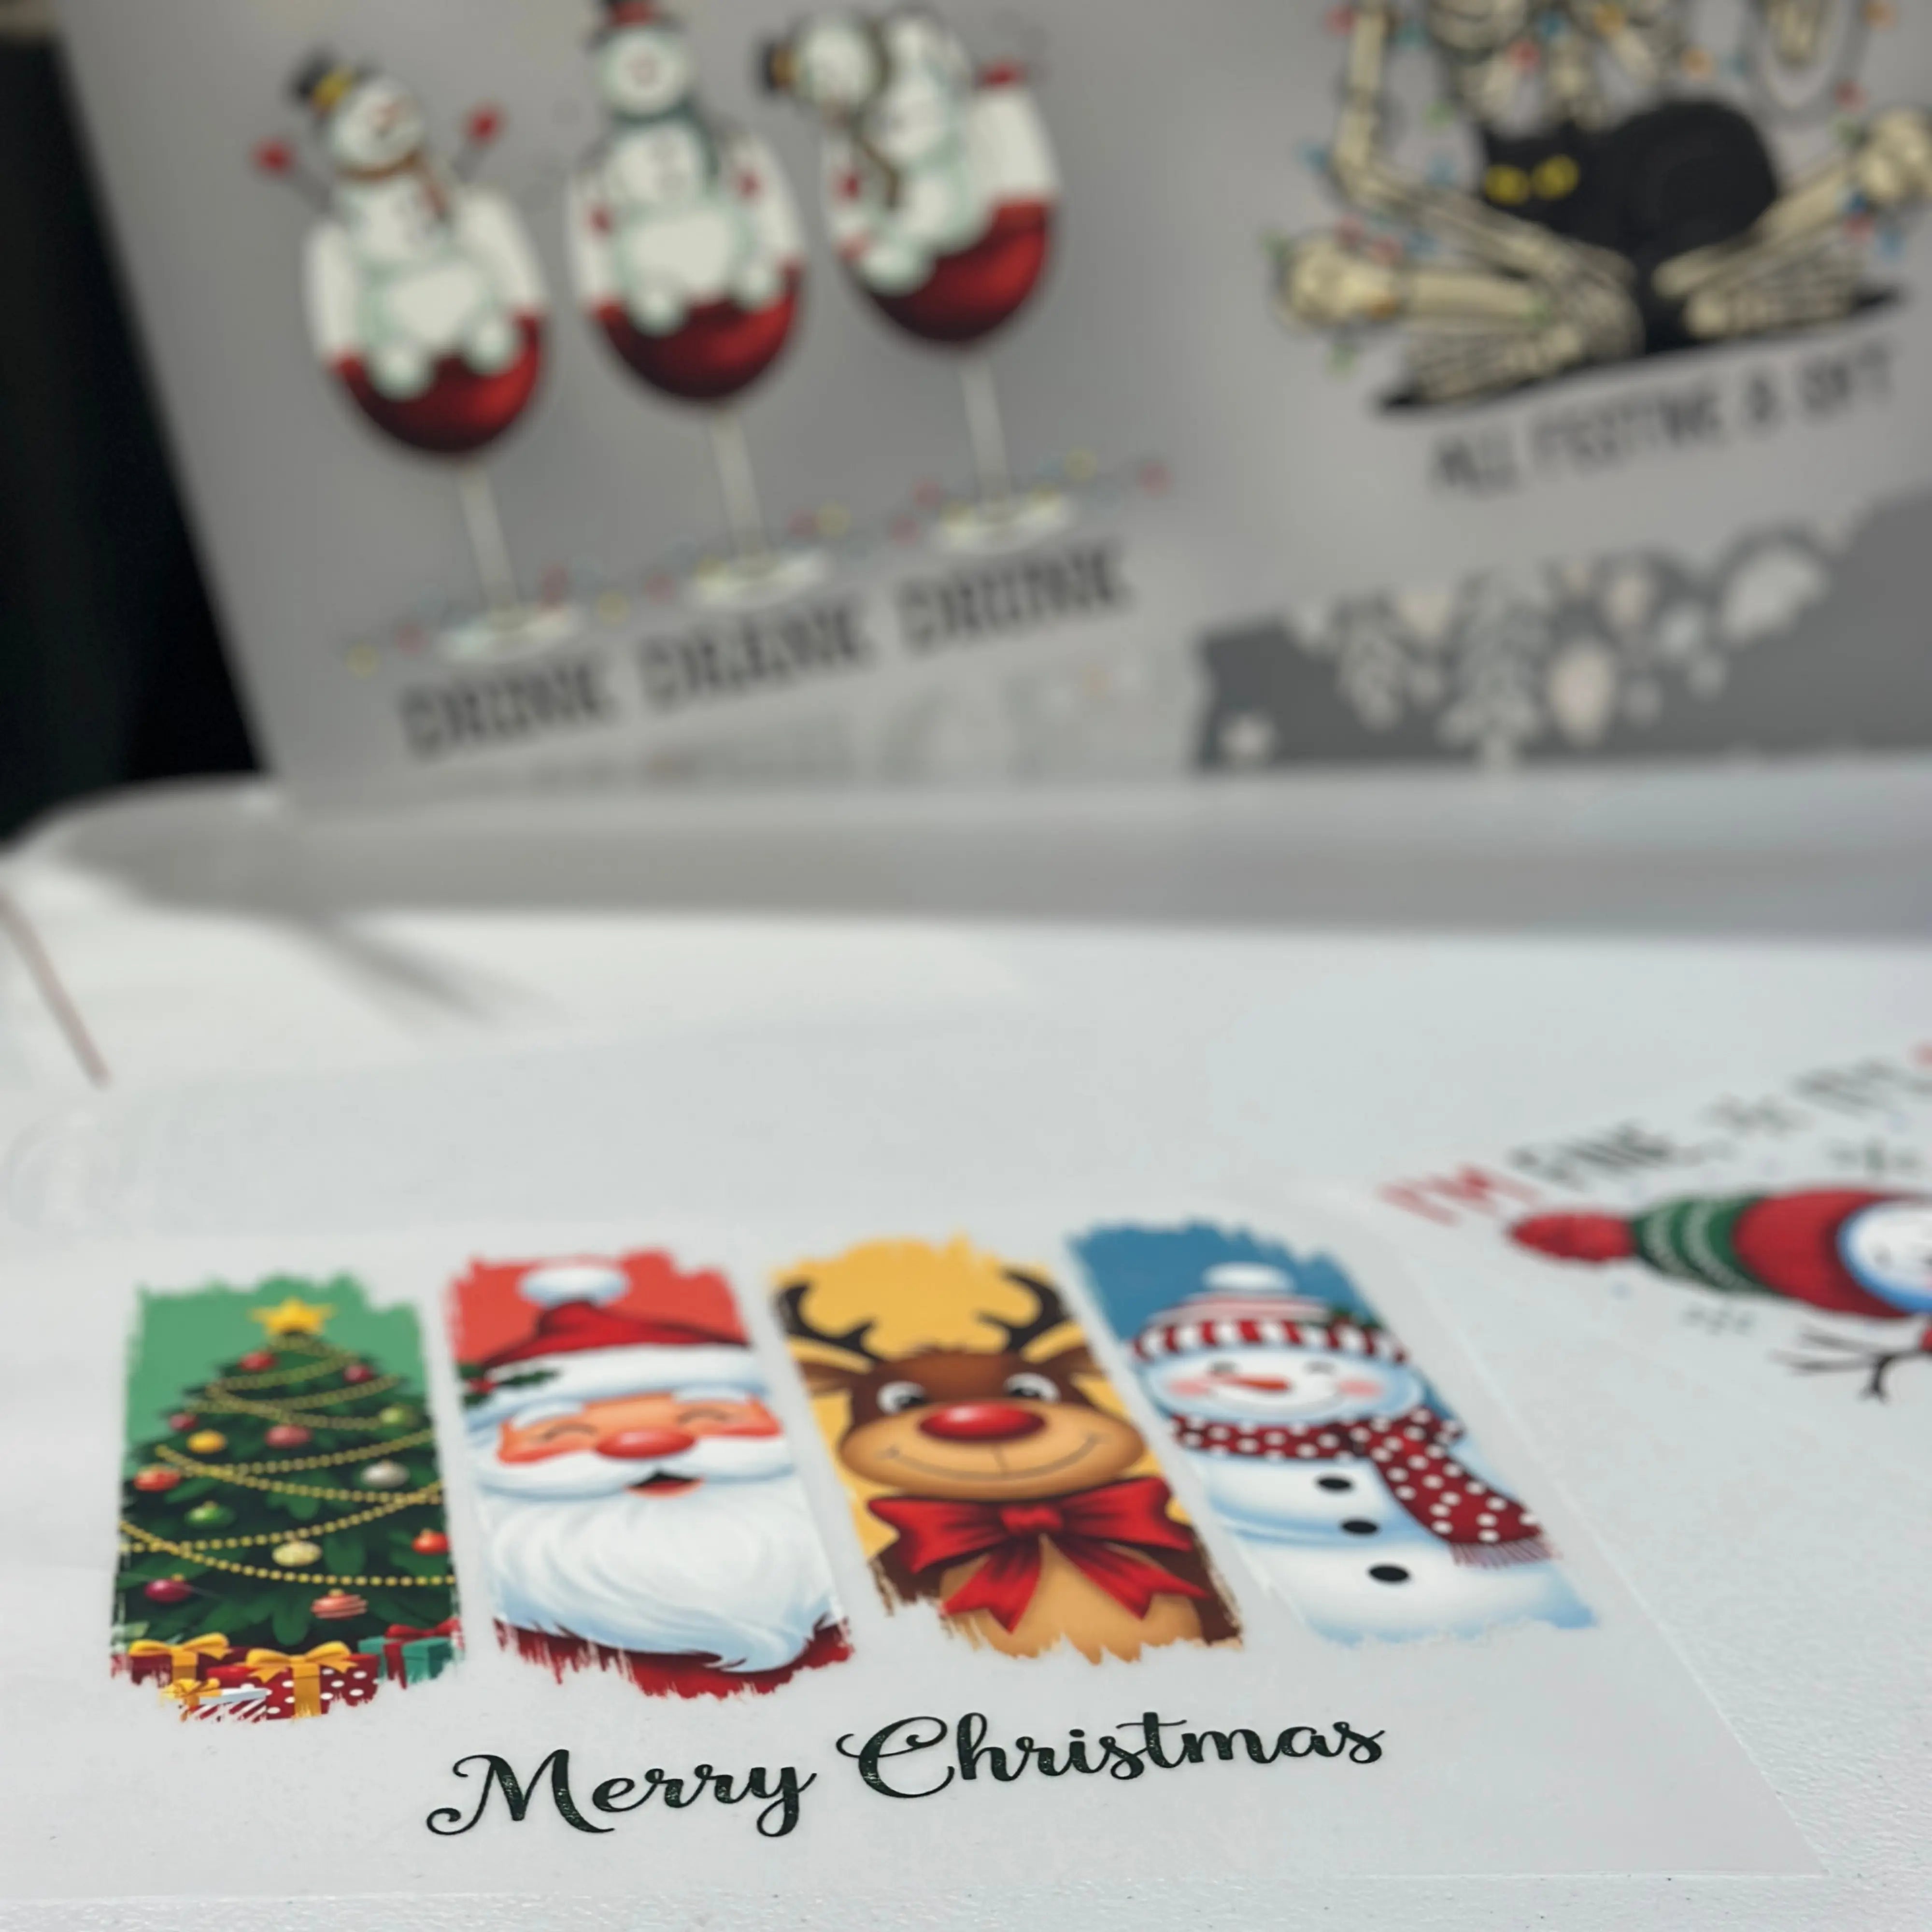
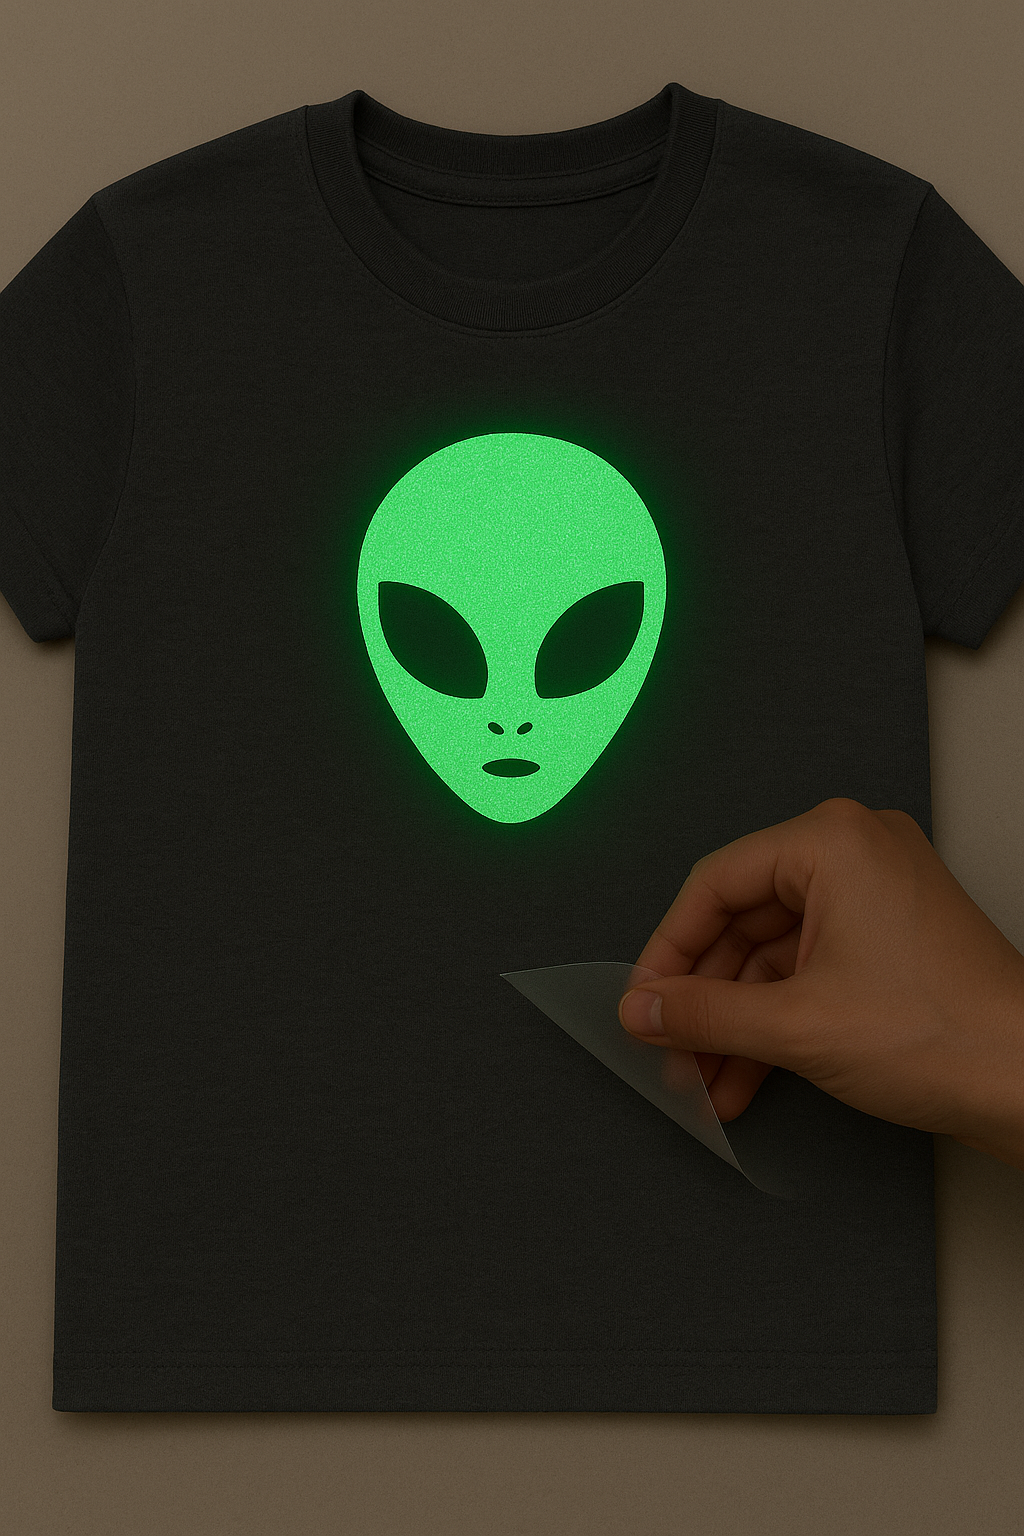
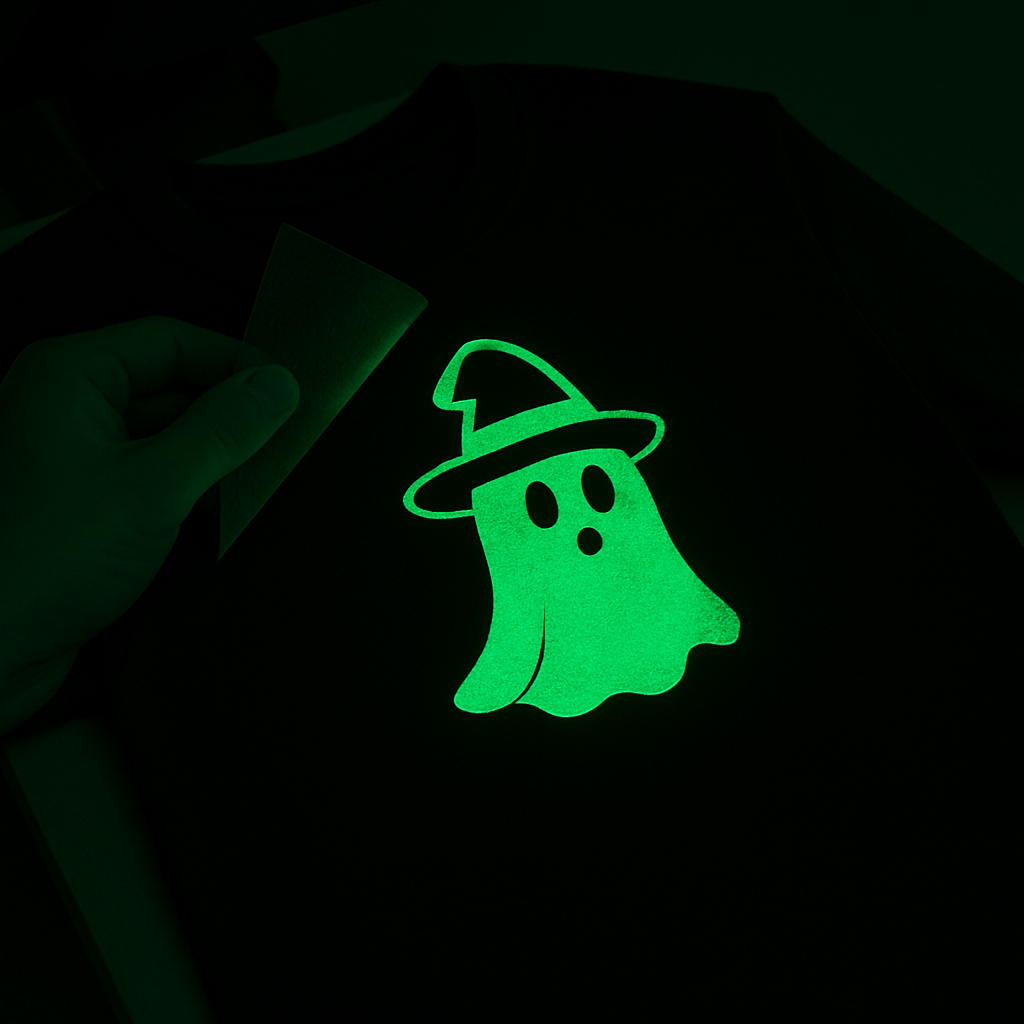
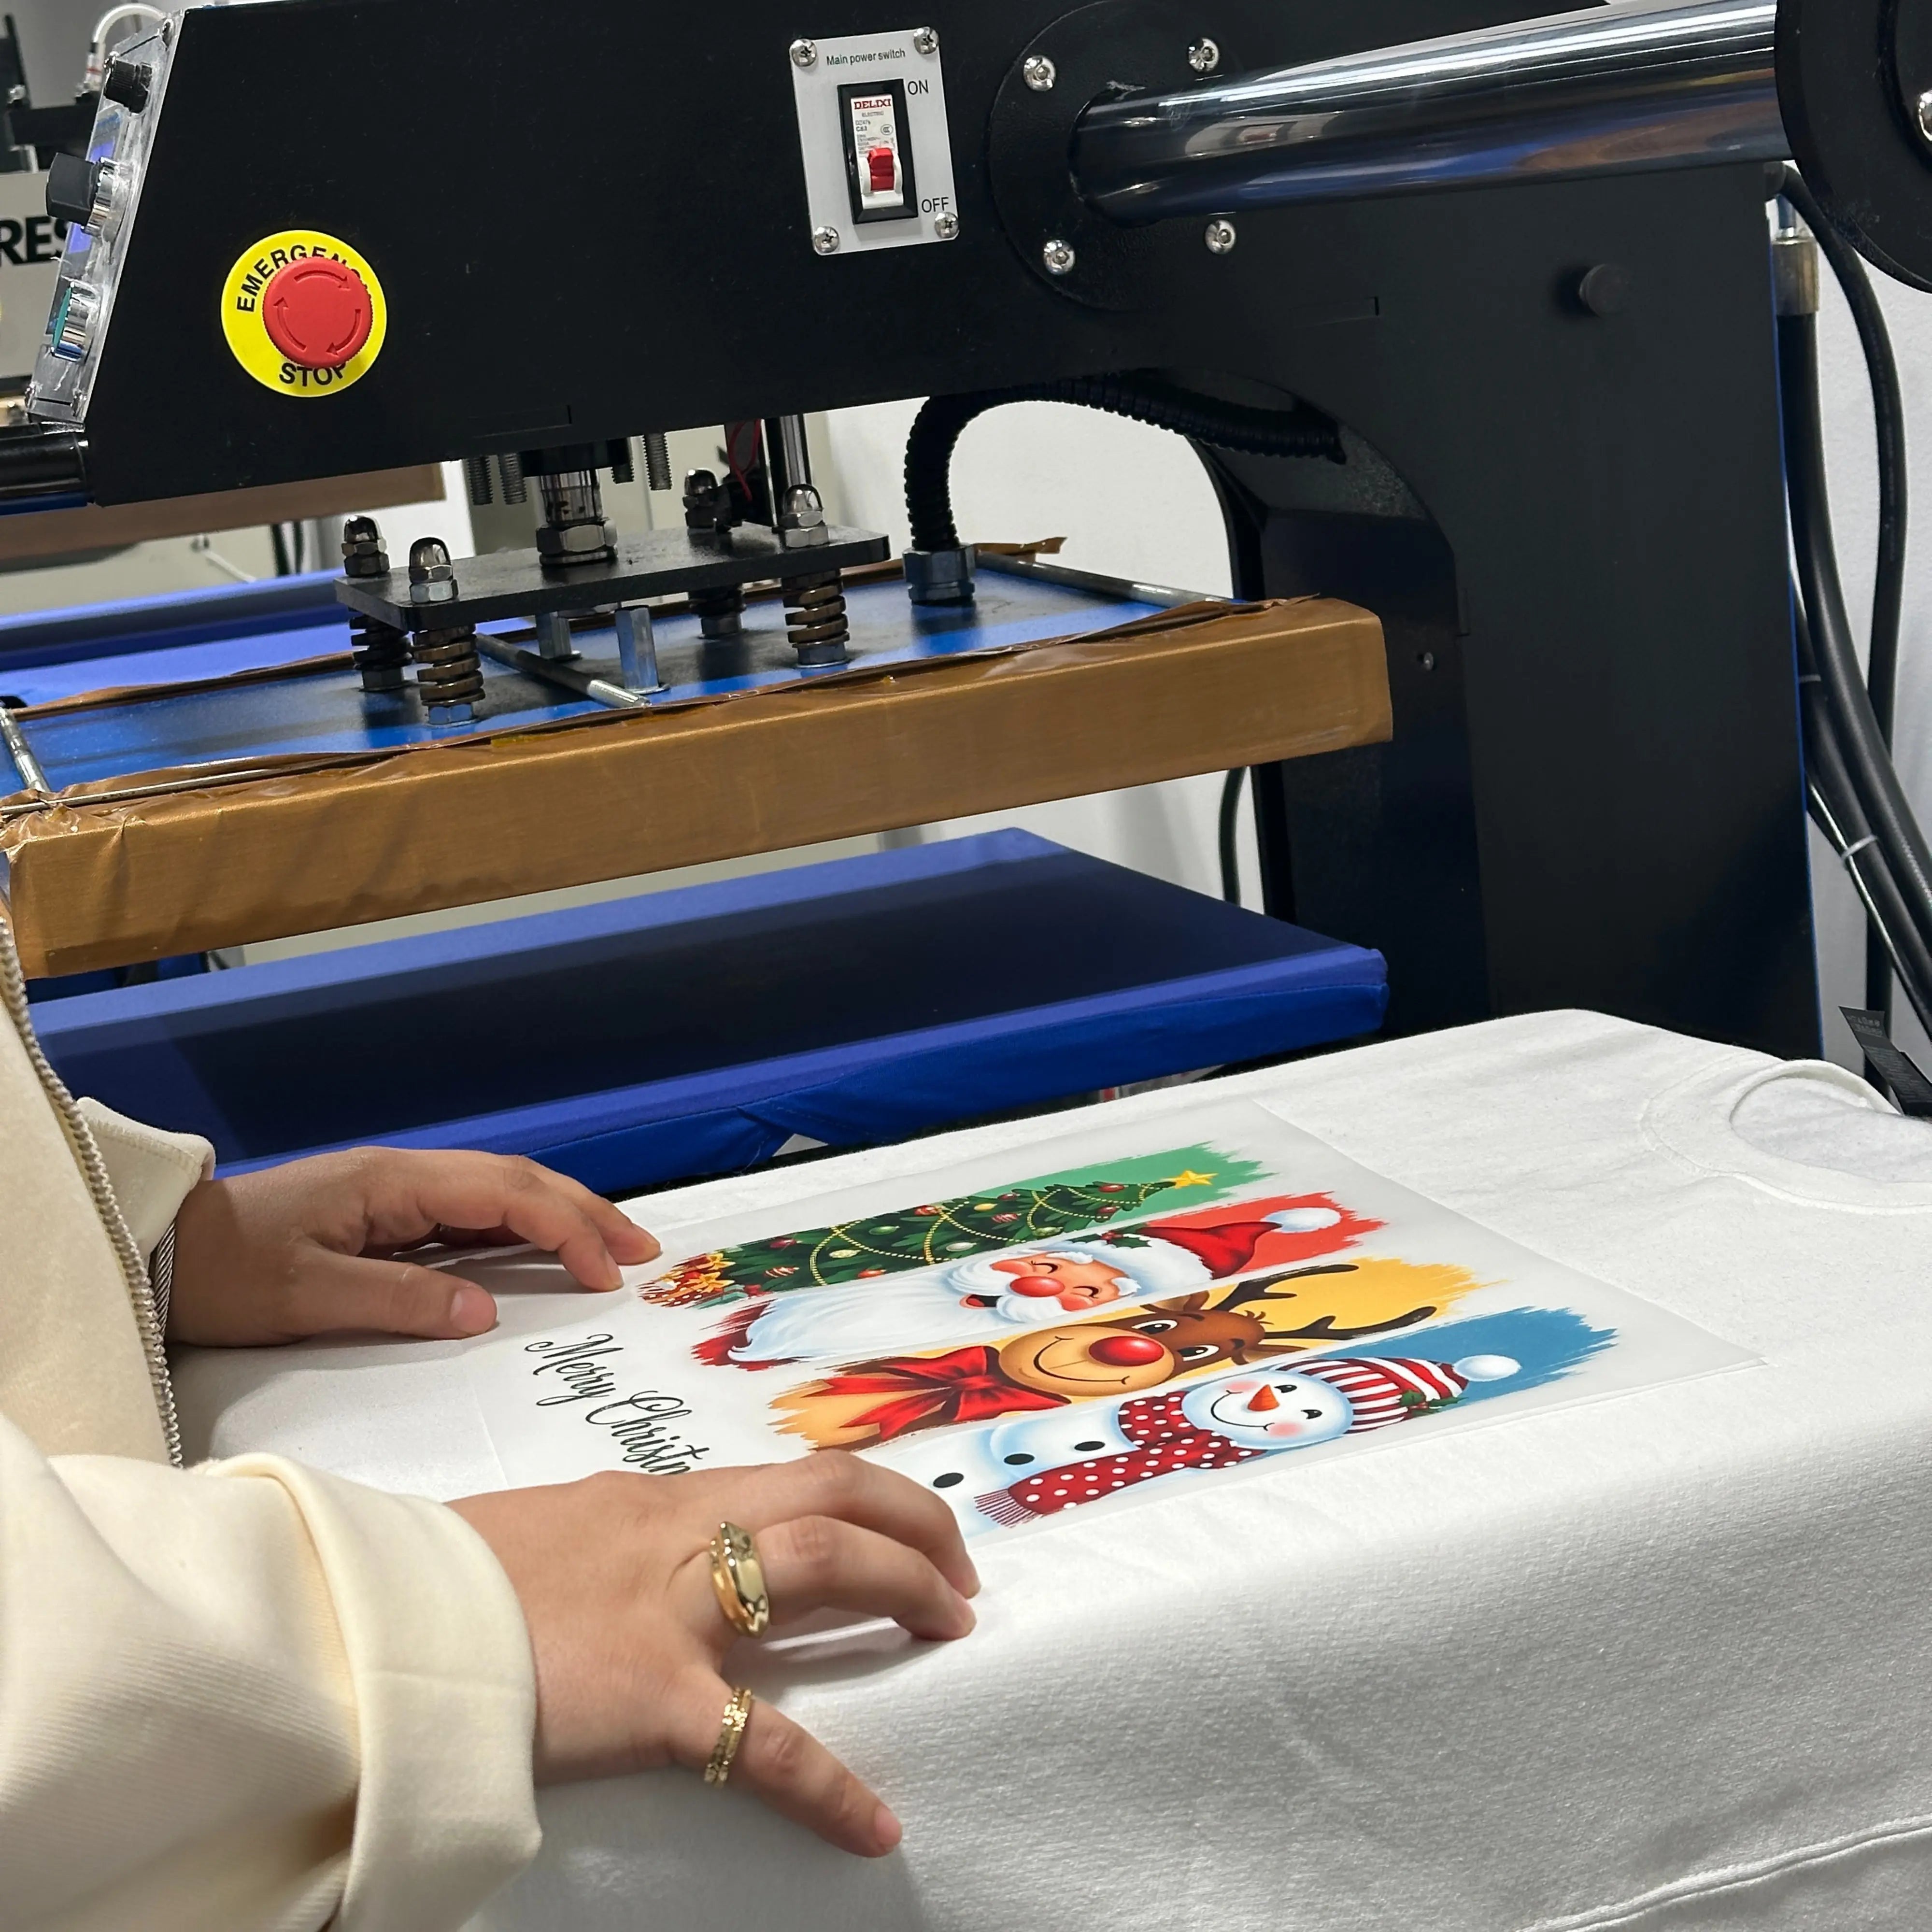
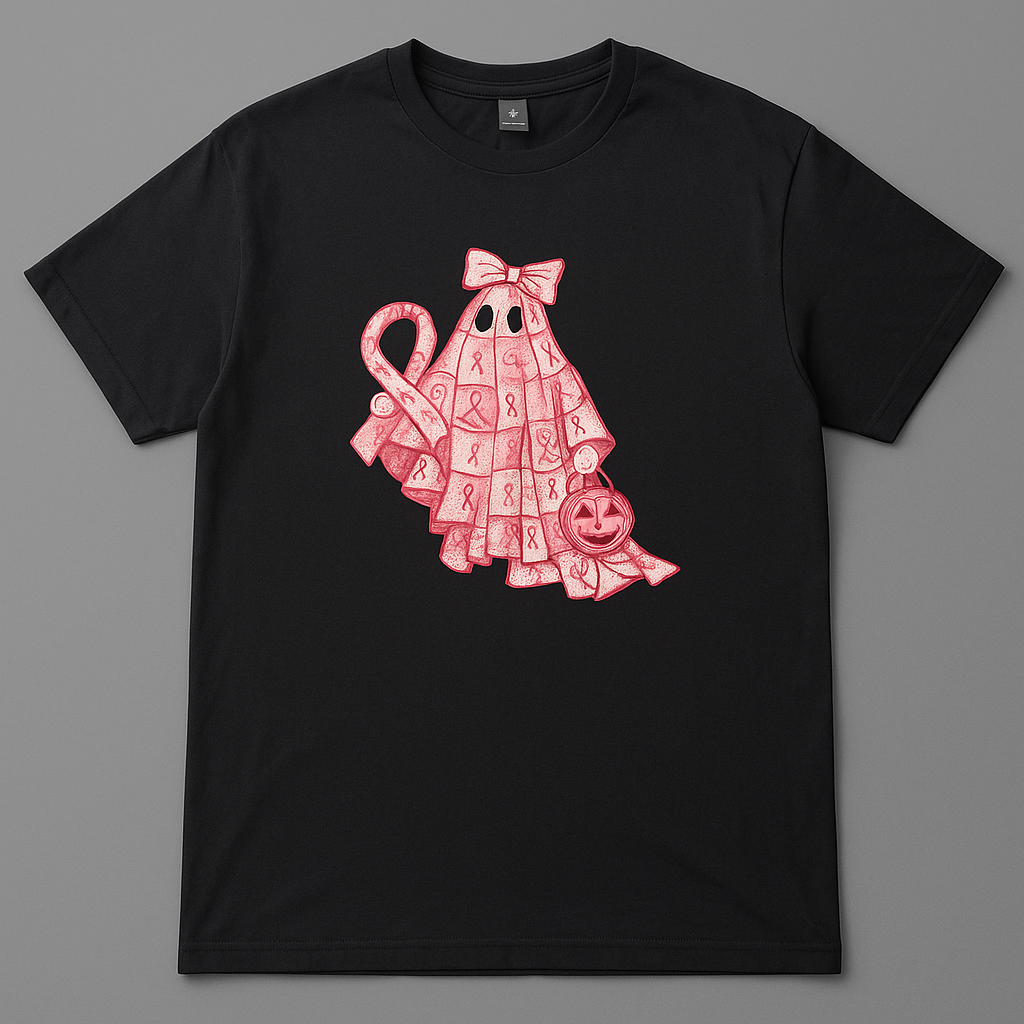
Custom Transfers
Custom transfers give businesses, apparel decorators, brands, and creators a flexible way to turn their own artwork into designs for custom products. The right transfer depends on the artwork, intended surface, dimensions, quantity, and application method.
Planning these details before ordering helps you choose the transfer format that fits the finished product instead of treating every custom project the same way.
What Are Custom Transfers?
Custom transfers are designs prepared separately before being applied to a suitable product. Depending on the transfer type, the final application process can involve heat and pressure or a transfer system intended for compatible hard surfaces.
Custom transfers can support logos, illustrations, lettering, branded graphics, merchandise designs, event artwork, and other personalized projects.
For apparel projects using Direct-to-Film technology, explore Custom DTF Transfers.
Choose the Right Custom Transfer Type
Not every custom transfer is designed for the same application. Start with the product you want to decorate and choose the transfer type around that use.
Custom Transfers for Apparel
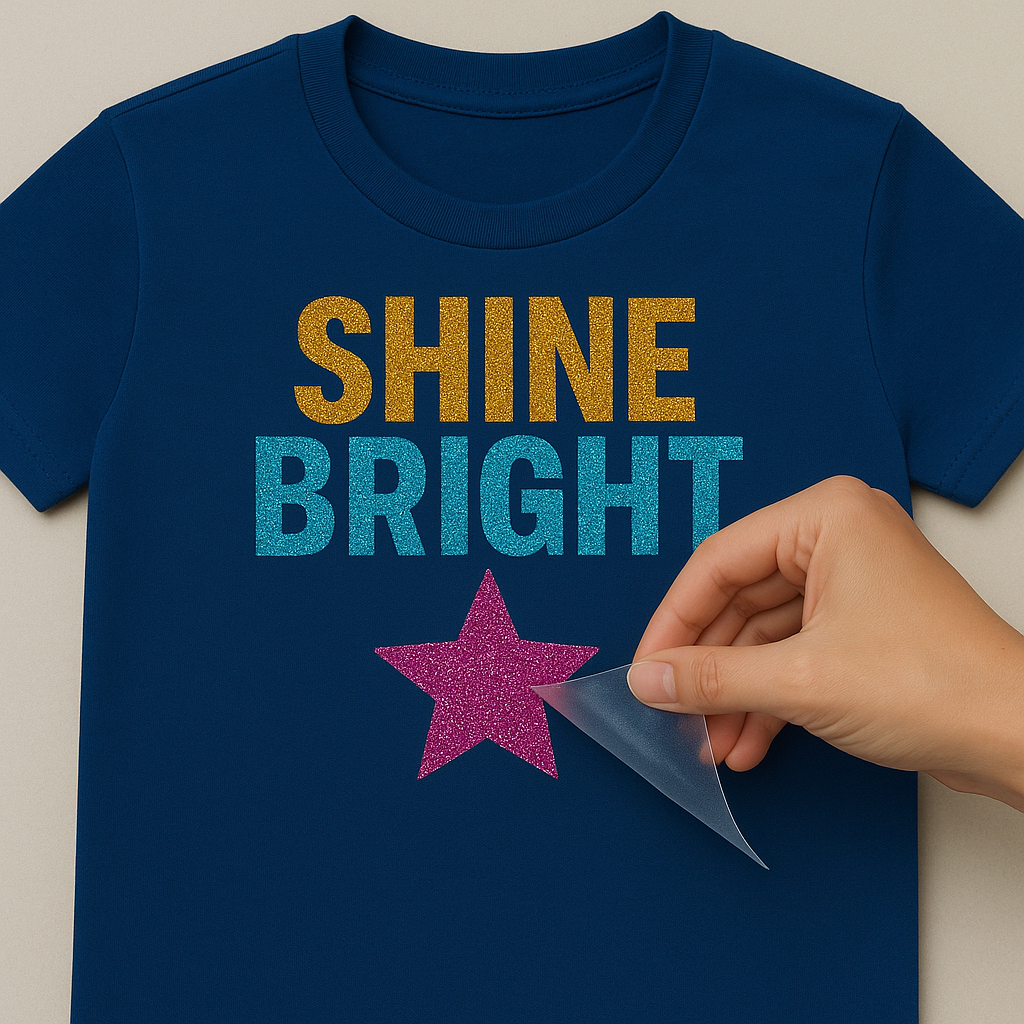
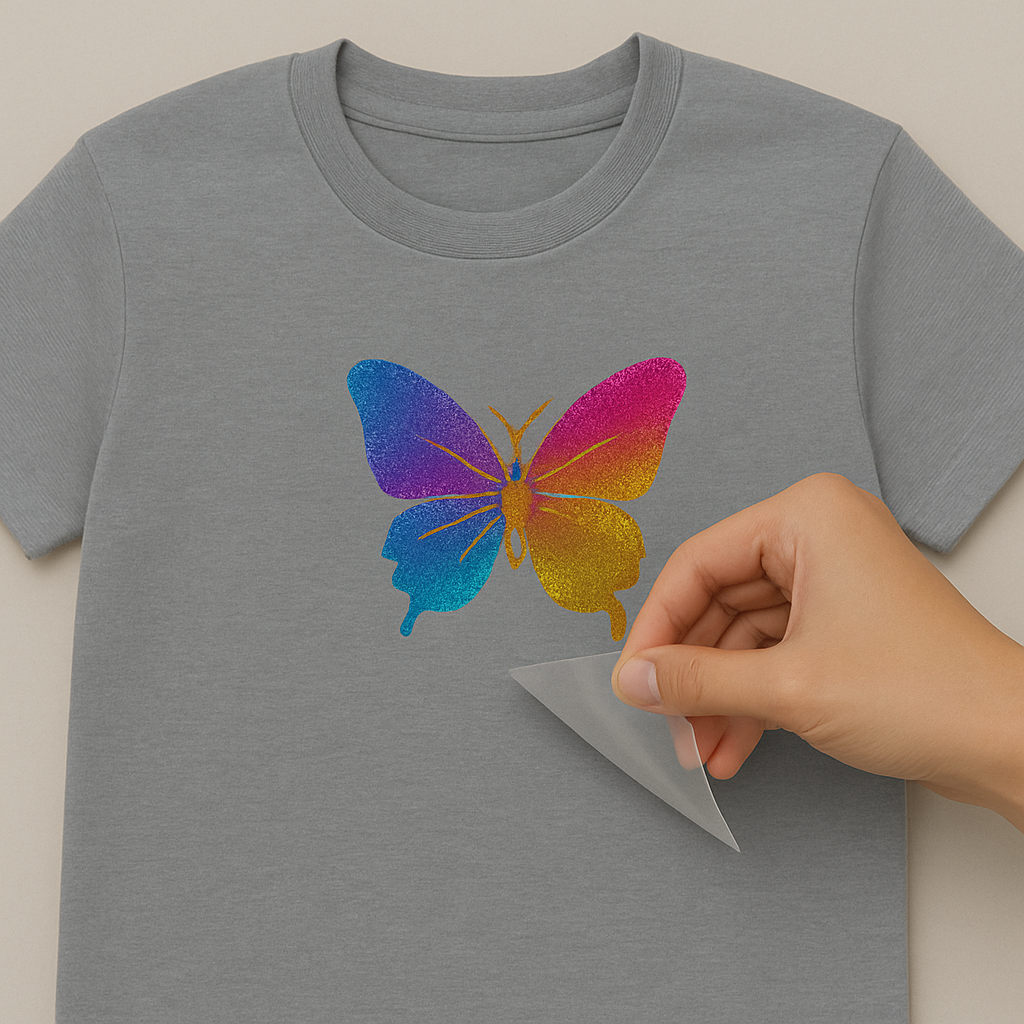
DTF transfers are prepared separately from the garment and then applied to suitable apparel using heat and pressure.
This workflow can be used for custom T-shirts, sweatshirts, hoodies, merchandise, branded apparel, and other suitable garment projects.
Custom Transfers for Shirts
Shirt projects should be planned around the garment, available print area, artwork dimensions, and intended placement.
A small chest logo may require a different transfer size from a larger center-front or back design.
If shirts are the main focus of your project, explore Custom Transfers For Shirts.
Custom Transfers for Hard Surfaces
Hard-surface projects use a different workflow from heat-applied garment transfers. The intended surface should therefore be identified before choosing the transfer.
For suitable hard-surface applications, explore Custom UV DTF.
Prepare Your Artwork Before Ordering
The final artwork should be reviewed before choosing the transfer format or quantity.
Check:
- Artwork version: Confirm that you are using the final approved design.
- Dimensions: Determine how large the finished design should be.
- Placement: Decide where the artwork will appear.
- Details: Review spelling, proportions, small text, and important graphic elements.
- Quantity: Calculate how many copies of each design are required.
Keeping approved artwork separate from earlier drafts also makes repeat projects easier to organize.
Choose the Right Transfer Size
Transfer dimensions should match the intended product and placement rather than being selected independently.
For apparel, a chest logo, center-front design, back graphic, sleeve artwork, or neck-label design may each require different dimensions.
Always evaluate the available application area on the actual garment or product before finalizing the transfer size.
Use Gang Sheets for Multiple Custom Transfers
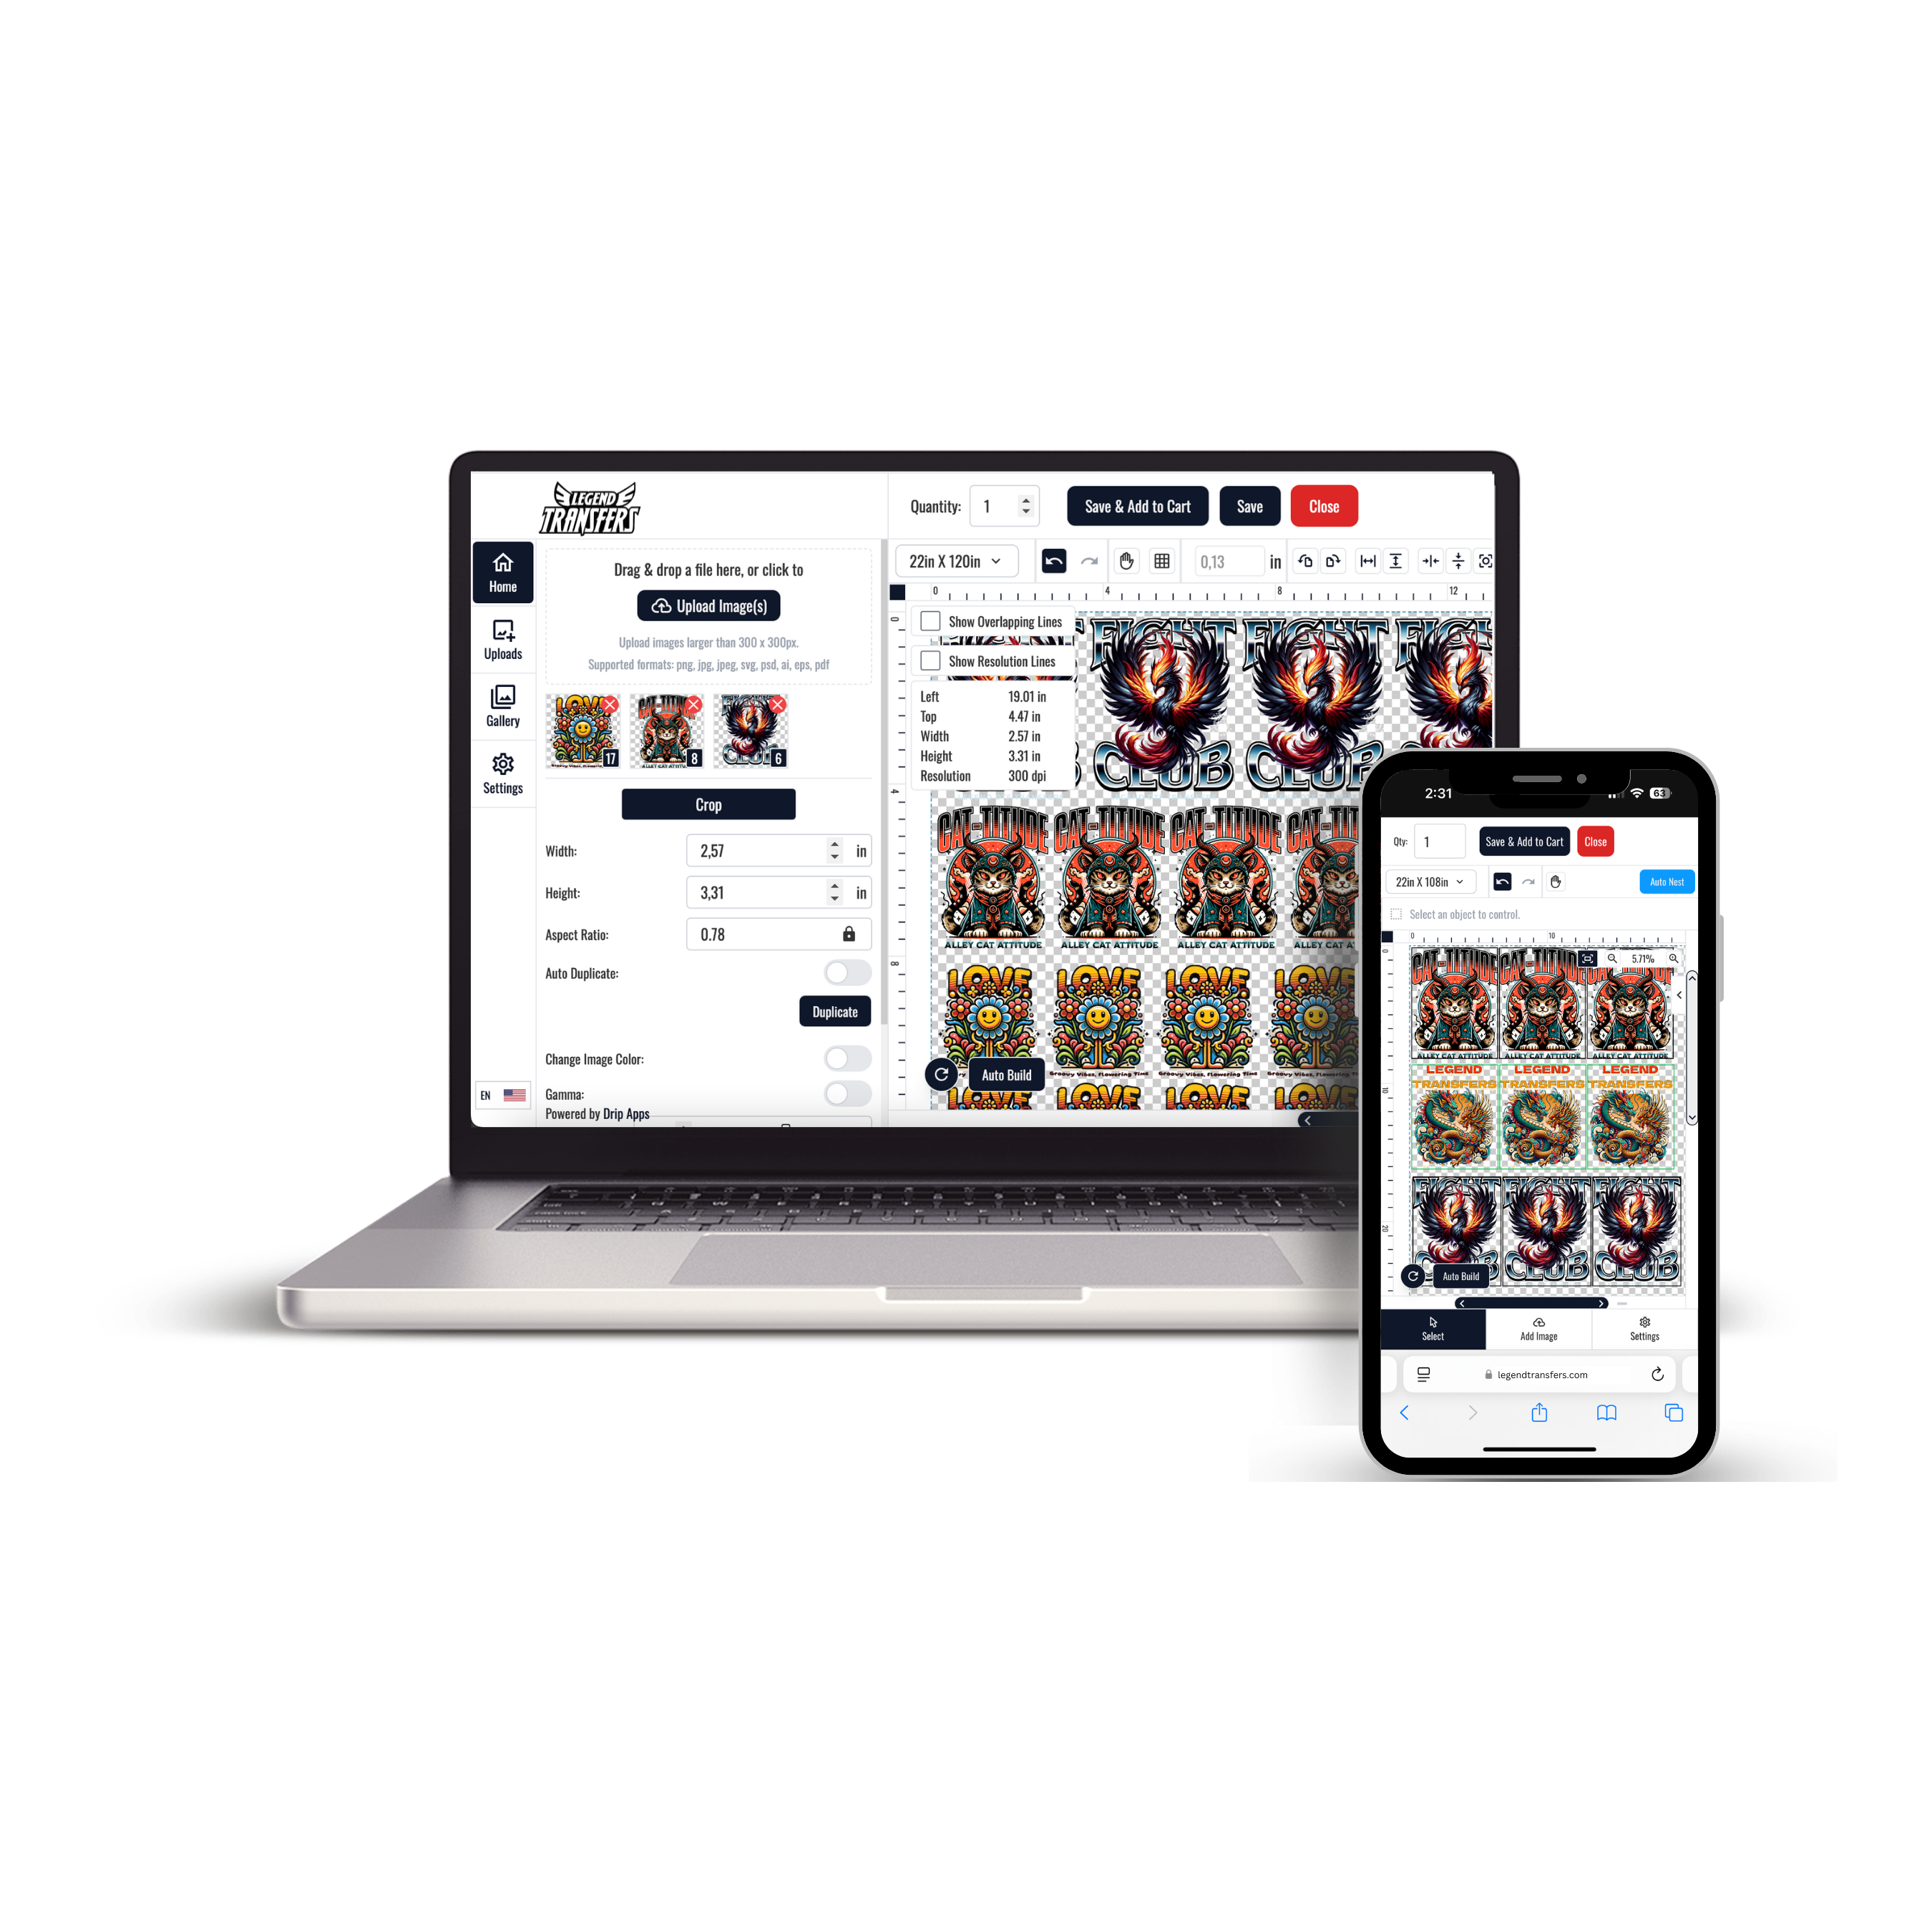
A gang sheet can be useful when an apparel project requires several designs, multiple copies of the same artwork, or different transfer sizes.
A gang sheet might include:
- multiple copies of a logo,
- front and back graphics,
- sleeve designs,
- small branding elements,
- or several custom graphics for one production run.
Browse DTF Gang Sheets when grouping multiple DTF designs fits your production plan.
Custom Transfers for Different Projects
Brands and Businesses
Custom transfers can support company apparel, branded merchandise, promotional projects, event products, and other designs built around a consistent visual identity.
Apparel Decorators
Decorators can organize transfer production separately from garment application. This makes it possible to plan artwork, garments, placements, and quantities before pressing begins.
Teams and Organizations
Projects involving shared logos or graphics can include multiple garment sizes, transfer dimensions, and placements. Documenting these details helps keep the production plan organized.
Repeat Projects
If the same design will be used again, save the approved artwork together with its dimensions, intended product, placement, and relevant production notes.
Prepare DTF Transfers for Application
For heat-applied DTF projects, ordering the transfer and applying it to the garment are separate stages.
Before pressing, confirm the garment, transfer position, and relevant application requirements. Do not assume that every transfer uses identical temperature, pressure, pressing time, or peel instructions.
Review DTF Transfer Instructions before beginning garment application.
How to Plan a Custom Transfer Order
- Identify the product or garment you want to customize.
- Finalize the artwork.
- Determine the intended design placement.
- Choose the appropriate transfer dimensions.
- Calculate the required quantity.
- Select the transfer type that matches the intended surface.
- For DTF projects, decide whether individual transfers or gang sheets fit the production plan.
- Review the relevant application requirements before using the transfer.
Choose the Right Custom Transfers for Your Project
The right custom transfer starts with the finished product. Consider the surface, artwork, placement, dimensions, quantity, and application method before choosing a transfer format.
For apparel, a DTF-based workflow may fit the project. For compatible hard surfaces, a UV DTF option may be more appropriate. Matching the transfer to its intended use keeps the production process focused from the beginning.


